
Applying for a U.S. visa has always involved multiple steps, but in 2026, an important update has changed the sequence of the process. Now, applicants must first complete and submit the DS-160 form before moving ahead with CGI portal registration, visa fee payment, and appointment booking.
This update is crucial for students, tourists, and professionals planning to travel to the United States. Understanding this new process can help you avoid delays, errors, and unnecessary complications.
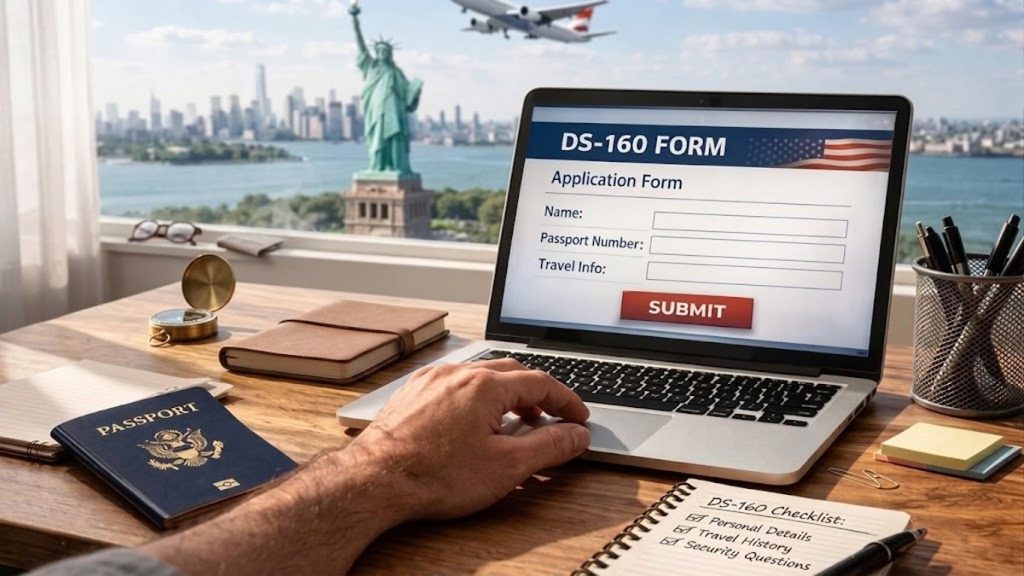
What Is the DS-160 Visa Application Form
The DS-160 is an online non-immigrant visa application form required for individuals applying for temporary travel to the United States. It collects essential details such as personal information, travel plans, education, employment history, and security-related questions.
This information is reviewed by the consular officer at every stage of your application, including during your visa interview. Once submitted, applicants receive a confirmation page with a barcode, which is mandatory for further steps in the visa process. It is important to clarify one common misconception: submitting the DS-160 does not mean your visa has been approved or even that your application is complete. What it does is set your application in motion and unlock every subsequent step in the process.
What Has Changed in the U.S. Visa Process in 2026
Previously, applicants could create a CGI portal profile and begin the visa application process before completing the DS-160 form. However, under the new 2026 update, submitting the DS-160 form is now the first and most important step.
New Rule: You must complete and submit the DS-160 form before:
- Creating a CGI portal profile
- Paying the visa application fee ($185)
- Booking biometric and visa interview appointments
The logic behind this change is straightforward. By requiring the DS-160 upfront, the system ensures that every applicant’s personal and travel information is on record before any payment or appointment is processed. It creates a cleaner, more traceable application trail and reduces the risk of incomplete or mismatched applications moving through the system.
Key Takeaway: No DS-160 submission = No CGI access = No appointment. This is the new reality of the U.S. visa process in 2026.
The Updated Step-by-Step U.S. Visa Process for 2026
Step 1: Fill and Submit the DS-160 Form: Visit ceac.state.gov and begin a new DS-160 application. Select your nearest U.S. Consulate — New Delhi, Mumbai, Chennai, Hyderabad, or Kolkata — and fill out all sections of the form carefully and completely. Once you are satisfied that all information is accurate, submit the form.
Step 2: Save and Print Your DS-160 Confirmation Page: After submission, your confirmation page will be generated with a barcode and your DS-160 confirmation number. Print this page immediately and keep multiple copies.
Step 3: Create Your CGI Federal Portal Account: Visit ustraveldocs.com and register for a new account. During the registration process, you will be required to enter your DS-160 confirmation number along with your passport details and personal information. This is where the 2026 update takes effect, the portal will not allow you to proceed without a valid confirmation number.
Step 4: Pay the $185 MRV Fee: Once your CGI account is set up and your DS-160 is linked, proceed to pay the visa application fee of $185, also known as the MRV (Machine Readable Visa) fee. Remember this fee is entirely non-refundable, regardless of the outcome of your application.
Step 5: Schedule Your OFC Appointment: After your payment is confirmed, schedule your OFC (Offsite Facilitation Centre) appointment. This is where your biometric data, fingerprints and a digital photograph will be collected.
Step 6: Schedule Your Visa Interview Appointment: Once your OFC appointment is booked, schedule your visa interview at your chosen U.S. Consulate. Interview slot availability varies by location and season.
Step 7: Prepare Your Document File: With both appointments confirmed, organise your complete document file. At a minimum, you will need your printed DS-160 confirmation page, appointment confirmation letter, valid passport, a compliant visa photograph, and all supporting documents relevant to your visa category; financial statements, employment letters, admission documents, or travel itinerary, as applicable.
Step 8: Attend Your OFC Appointment, Then Your Visa Interview: On the day of your OFC appointment, carry all required documents and arrive early. Following that, attend your visa interview at the U.S. Consulate on the scheduled date.
Important Reminder: The process is sequentially locked. Every step depends on the one before it. Do not pay the fee before submitting the DS-160. Do not book an appointment before paying the fee. Follow this order without exception.
Documents Required for DS-160 Form
- Valid passport: Your current passport and any previous passports, if applicable
- Passport-size photograph: Must comply with U.S. visa photo requirements
- International travel history: All countries visited, with approximate dates of travel
- Previous U.S. visit details: Dates of travel, visa type, and port of entry, if you have visited before
- Current and previous employment details: Employer name, address, job title, and employment dates
- Educational background: Institutions attended, qualifications obtained, and years of study
- Family information: Details of spouse, children, parents, and siblings
- U.S. point of contact: Name, address, and relationship of the person or organisation you plan to visit
- Social media handles: All platforms actively used in the last five years
- Financial documents: Bank statements and income details
- For student visa applicants: University admission letter, I-20 form, and SEVIS fee payment receipt for a US student visa application
Common Mistakes to Avoid
Many visa rejections or delays happen due to simple errors in the DS-160 form. Always double-check your form before submission. Avoid these common mistakes:
- Incorrect spelling of name or passport details
- Mismatch between DS-160 and supporting documents
- Selecting the wrong visa category
- Submitting incomplete or inaccurate information
What If You Make a Mistake in DS-160
If you discover an error after submission, you may need to fill out a new DS-160 form. In such cases:
- Use the updated DS-160 confirmation number for your CGI profile
- Inform authorities during your appointment if required
Minor mistakes can sometimes be clarified during the interview, but major errors should be corrected by submitting a new form.
Confused by the New U.S. Visa Process? Abroad Gateway is Here to Help.
Keeping up with visa process updates while simultaneously managing documents, forms, fees, and appointments can be genuinely overwhelming, especially if this is your first time applying. A single mistake in the DS-160, a mismatched consulate selection, or a missed step on the CGI portal can set your plans back by weeks.
At Abroad Gateway, Chandigarh’s trusted visa consultants, we stay on top of every process update so you don’t have to. Our experienced team has helped hundreds of students, tourists, and professionals successfully navigate the U.S. visa process, and we are ready to help you too.
Here is what we offer U.S. visa applicants:
- DS-160 guidance: We walk you through every section to ensure your form is accurate, complete, and error-free
- Tailored document checklist based on your specific visa category and personal profile
- CGI portal support: account setup, fee payment guidance, and appointment scheduling assistance
- Interview preparation: Personalised mock sessions based on your DS-160 answers and travel purpose
- End-to-end support from your first consultation all the way to your visa stamping
Planning to apply for a U.S. visa? Don’t let a process update delay your plans. Book a free consultation with our visa experts today.